Introduction: Planar Speaker From Old Hard Drive Magnets
Hello fellow makers,
As you can tell if you've seen my previous Instructables I love experimenting with audio equipment, the weirder the better...
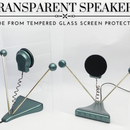
Now I want to say this Instructable is purely a prototype to satisfy my curiosity. I wanted to see if I can make a planar type speaker driver using old salvaged magnets from a hard drive and a 3D print.
Why not just use bar magnets?
I know it would be better to just start off with bar magnets but I love the ability to reuse thrown away tech, hard drives are great candidates for recycling... You get two super strong neodymium magnets, a great little brushless motor and a aluminium platter that is easy to machine into custom optical mirrors plus you're left with a chunk of aluminium to recycle.
![]()
If you enjoy my Instructables and would like to support my future projects you can Buy Me A Coffee.
Step 1: What You Will Need:
To make your own you will need the following:


- Access to a 3D printer or printing service
This is the printer I use and it's been brilliant.
- Magnets
Amazon - Neodymium Bar Magnets N52 60 x 10 x 5 mm
These would be perfect for building planar drivers, the magnets I used were salvaged from old 80gb hard drives.
- Enamelled copper wire
Amazon - Roll of enamelled copper wire various gauges
I suggest 36gauge or thinner if you can wind it.
- B-6000 glue
- CA glue
Amazon - Thin odourless CA glue
Optional:
- UV photosensitive film
Amazon - Photosensitive dry film
- Copper foil
Amazon - Copper tape conductive adhesive (2 inch X 66 FT)
*As an Amazon Associate I receive a small percentage from sales made through provided links at no cost to you, this helps fund future projects.
Step 2: What Is a Planar Magnetic Driver?
Planar magnetic drivers mix some of the operating principles between dynamic and electrostatic drivers. In a planar magnetic setup, the part that actually creates sound is an electrostatic-style thin, flexible material sandwiched between the outer layers of the mechanism. But like a dynamic driver, that diaphragm contains extremely thin wires with electrical current flowing through it, which regulates its back-and-forth vibration.
What makes the whole setup work is a series of precise and evenly-spaced magnets on both sides of the thin, electrically-active diaphragm material. Hence the name, planar magnetic: magnets acting on a flat plane. The magnets are so precisely cut and spaced that the diaphragm is perfectly held in the magnetic fields. This wide and flat layered construction makes planar magnetic headphones larger in diameter than most full-sized dynamic headphones, but somewhat “thinner” in the cups.
Like a dynamic driver, the sound in a planar magnetic driver is generated by regulating the electrical flow through wires suspended in between magnets. But like an electrostatic driver, the diaphragm mechanism is replaced by directly vibrating a large, flat film, allowing for more precision and range. Combining these operational principles allows planar magnetic drivers to be constructed in smaller, cheaper speakers and headphones (at least compared to extremely expensive electrostatic hardware) that can still generate much better sound than ordinary dynamic speakers and headphones.
You can read up more on HowToGeek
Step 3: Design and Print:
As always I jumped onto Fusion 360 to design the drivers, to get the thin yet rigid parts I needed I decided to print it on my resin printer but it should work on a FFF printer with 0.4mm nozzle and <0.2mm layers.
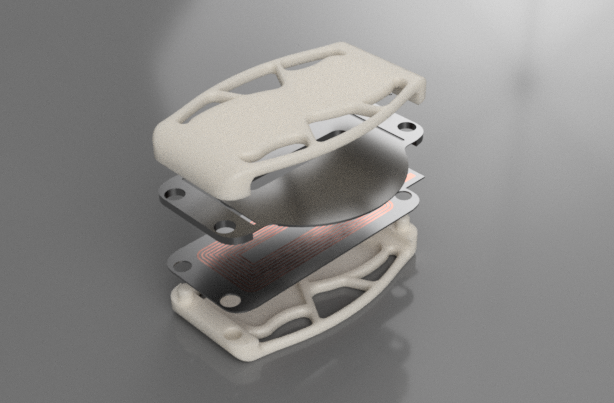
Bellow is the 3 files to print as well as the step file if you want to adjust something in the design.
I designed the two magnet shells/holders to the largest hard drive magnets in my collection so that it can fit a wide variety.
The middle coil print is still highly experimental, although the stl uploaded does work this part has the biggest impact on your sound so a lot of tweaking still has to go into the design.
Planar Prototype
Attachments
Step 4: The Magnets:
As the magnets from a hard drive are split with both the north and south pole on the same face we will need to divide the magnets.
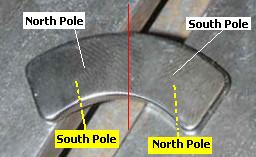
To do this I used a Dremel diamond cutting disk but we must be careful not to heat up the magnets as this will degrade their magnetic field. To prevent the magnets from heating up I place them on a heavy piece of metal like the head of a hammer to absorb the heat and this also holds it in place for easier cutting.
Due to the fragile nature of neodymium magnets you will notice that once cut about halfway through the magnet will split, to prevent it from breaking unevenly be sure to cut the magnet by making a slit in the top of the magnet and not through the side.
Be careful because the diamond cutting blade is magnetic it will try to pull to one of the magnets poles while cutting.
Step 5: The Coil:
In this step I will show you three different ways how you can create coils for devices like these.
1: Coil on bobbin
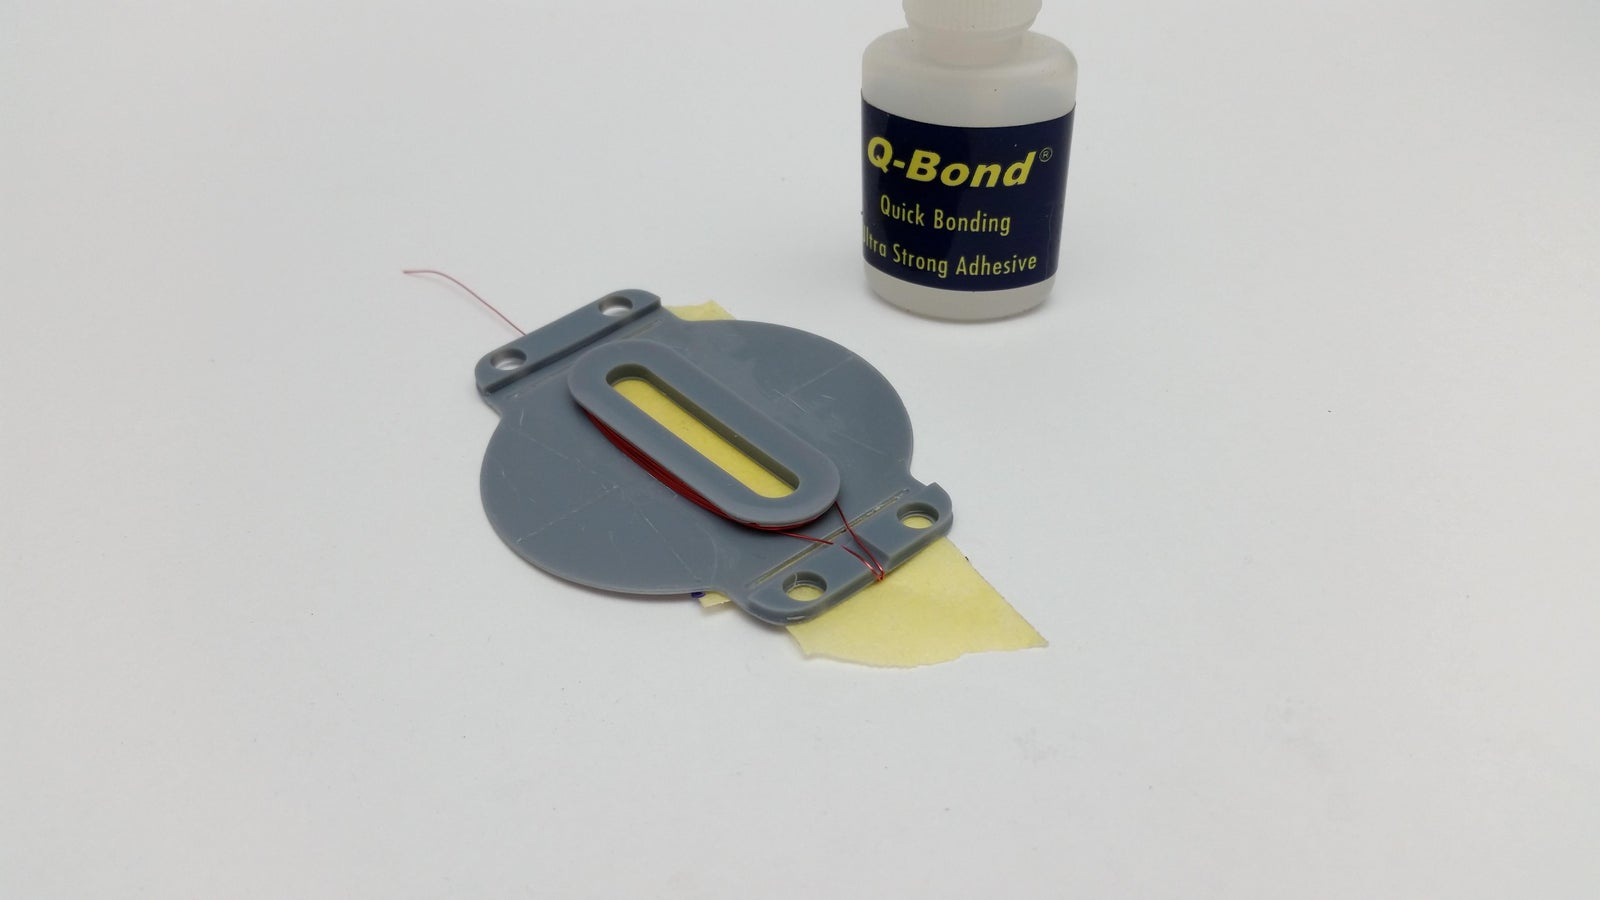
The first is the one I'm currently using and is pictured above.
This to me is simplest to make as it is a bobbin attached to a thin round extrusion that acts as the diaphragm, you then simply need to wind your enamelled copper wire around the bobbin to complete.
I wound the coil with the thinnest wire I had on hand which is 32 gauge, It would be better with something closer to 36 gauge as I could get more windings on the bobbin and lower the resistance as it is currently 2ohm which is a bit too low but still within spec for my amplifier for testing purposes.
You can use this table to roughly estimate the required length of wire needed for your voice coil:
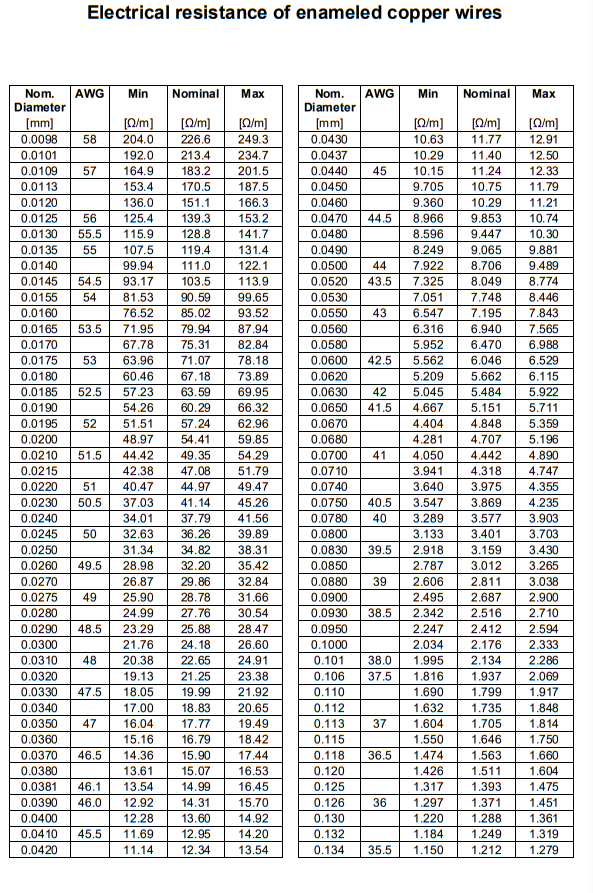
Be sure to apply CA glue (super glue) liberally to the coil after winding to prevent unwinding and vibrations whilst playing.
2: UV mask etching
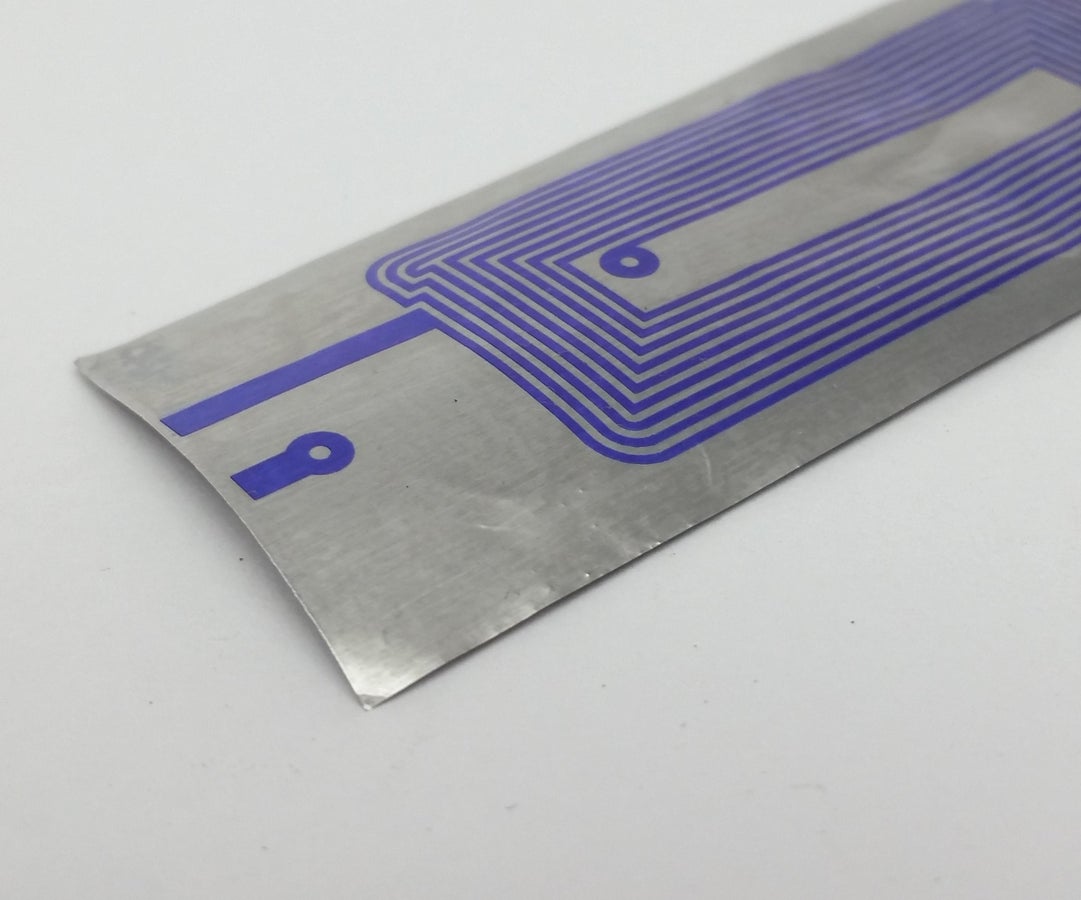
For this method we will use the display from the resin 3D printer to create a UV resist mask, this mask can then be heat transferred to a piece of copper or aluminium foil.
After transferring the mask onto the foil we need to add a thin backing to the foil to keep the coil in tact after etching, this is where I had problems with this method.
The material you use for the backing will become your planar drivers membrane so it needs to be suitable for sound reproduction. In my test I used normal printer paper stabilised with thin CA glue, I know this can sound good from tests with sound exciters.
With the paper backing the coil etched well with only one small defect but still tested good and was exactly 4ohms, super excited to test it I started soldering... here's the problem... I had no copper foil wide enough so I had to use aluminium but the flux and higher heat that comes with aluminium soldering quickly destroyed the paper backing.
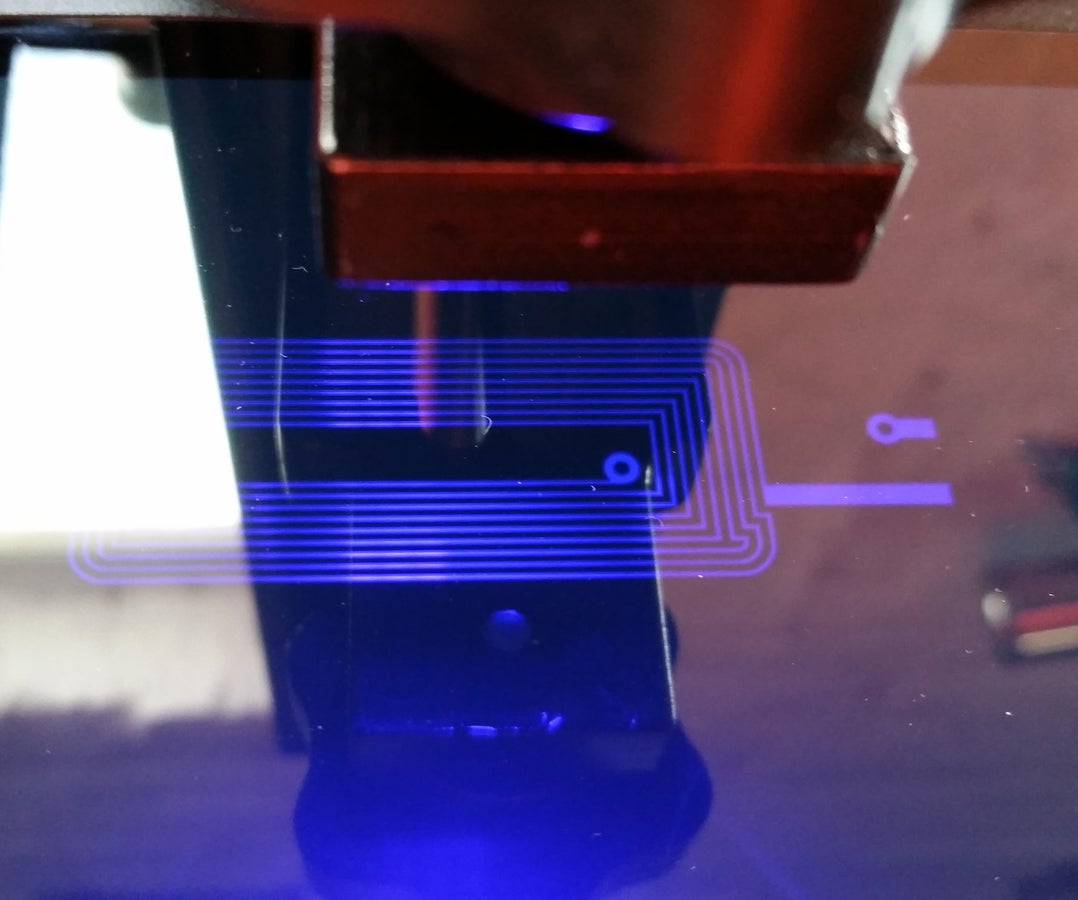
This is the method I'm definitely going to be doing most of my experimenting with as soon as I get some wider copper foil.
If you want to learn more about UV mask etching you can take a look at my previous Instructable: Create High Quality PCBs at Home With Cheap Laser
3: Resin mask etching
This method is completely new to me yet is something I will definitely be trying out more in the future, unfortunately like the previous step I was unable to continue testing due to the aluminium foil.
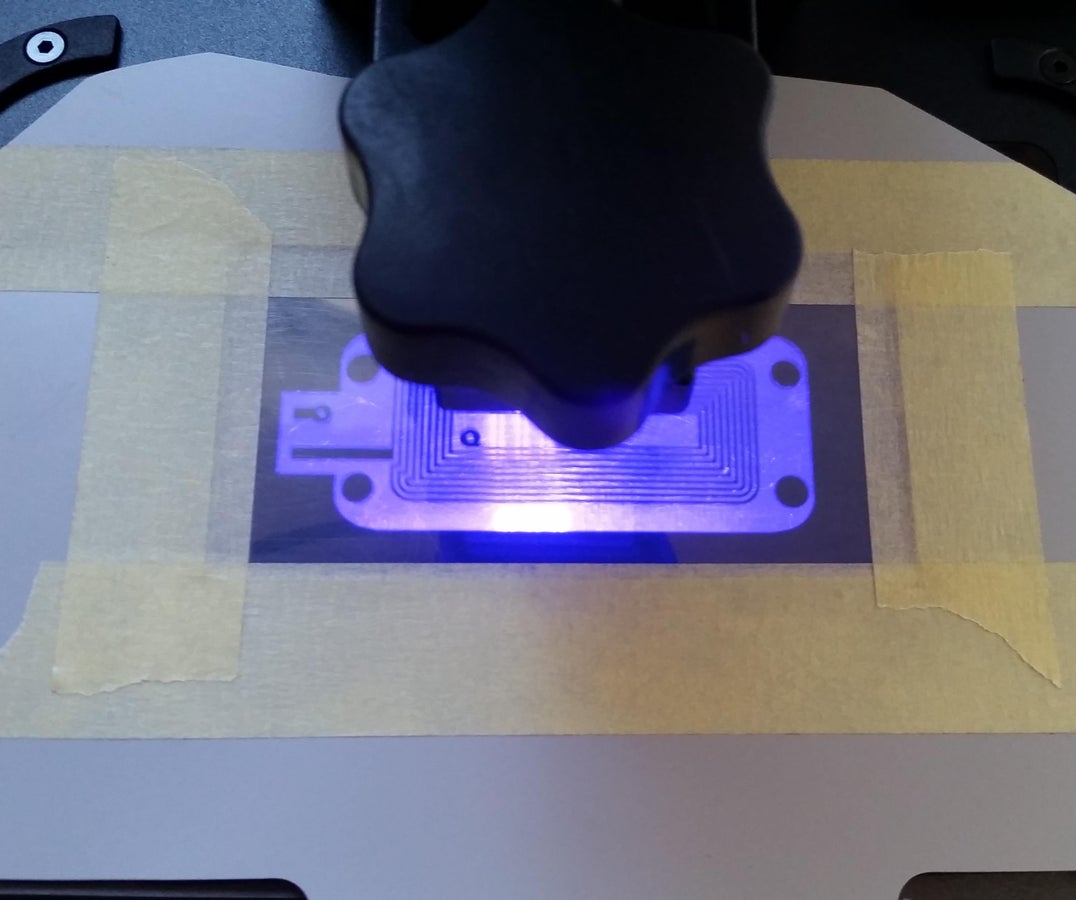
Here we will use the resin printer as well as the resin from the printer to create a resist mask out of the resin directly onto the foil.
For this you will lay a piece of transparency on top of the printers screen (the vat and printing bed will be removed during this entire process) then using painters tape we create our own very thin vat this is just to lift the foil a few microns from the screen making space for a layer of resin.
Lay the foil onto a pane of glass (I smear some resin on the glass just to keep the foil in place) add about half a teaspoon of resin ontop of the transparency that's on the screen and squish the glass pane with the foil onto the resin.
Keeping some pressure on the glass run the print and clean as you would a normal print.
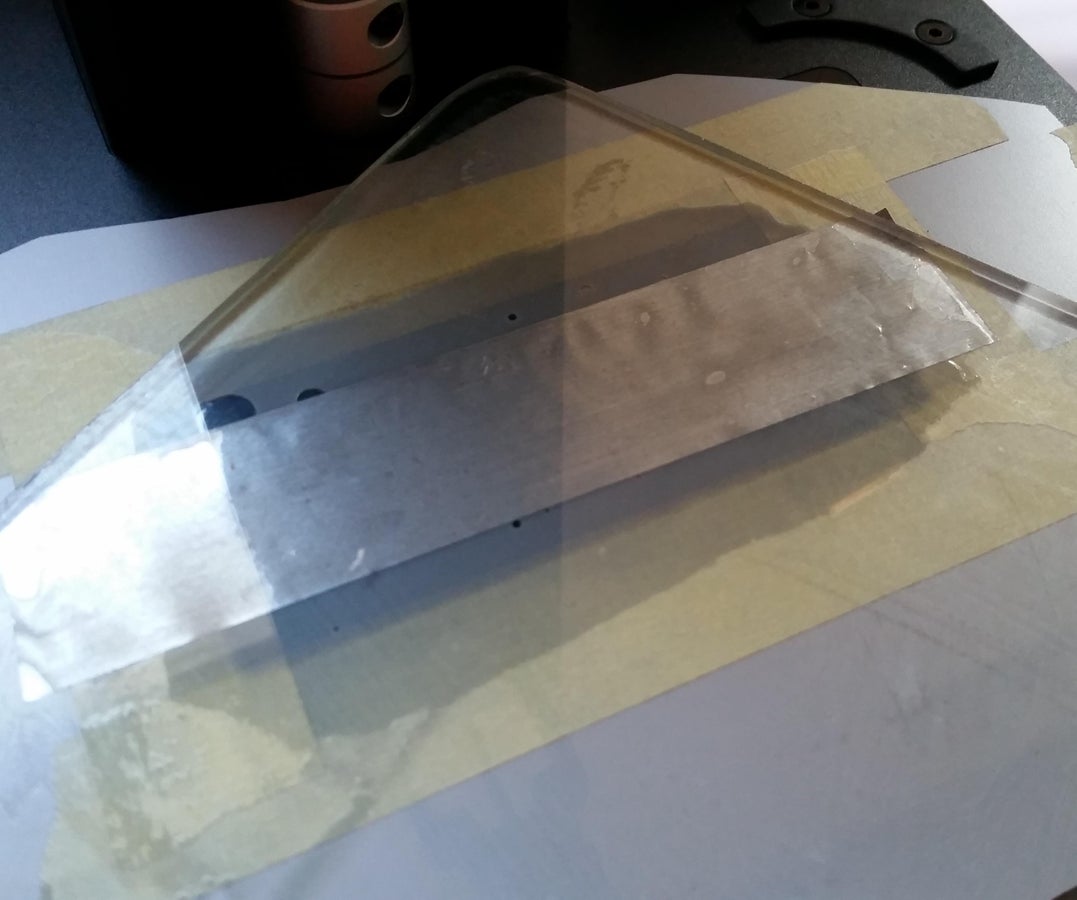
You will be left with something similar to the previous method but with resin instead of the UV resist that can then be etched.
What I like about this method is you can incorporate the coil backing/diaphragm into the initial exposure so that your coil is basically embedded in the diaphragm.
Step 6: Assembly:
Time to start assembling your driver.
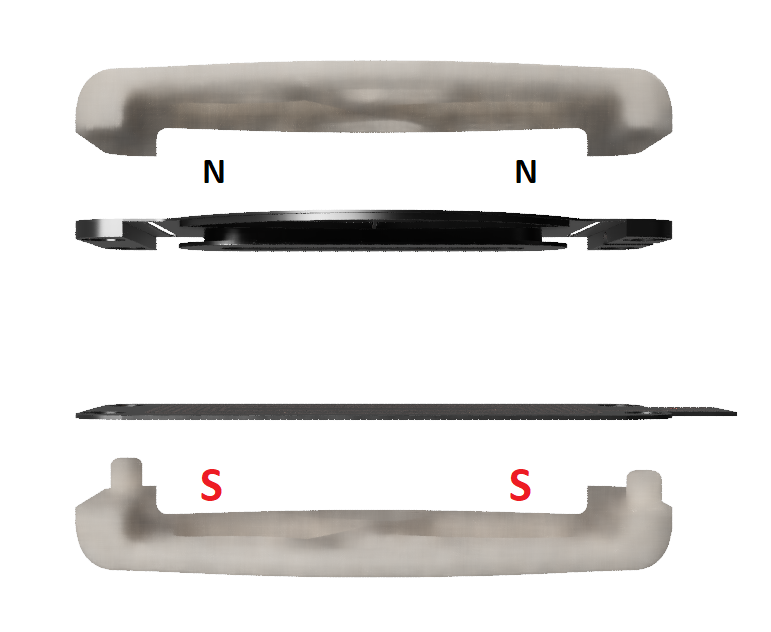
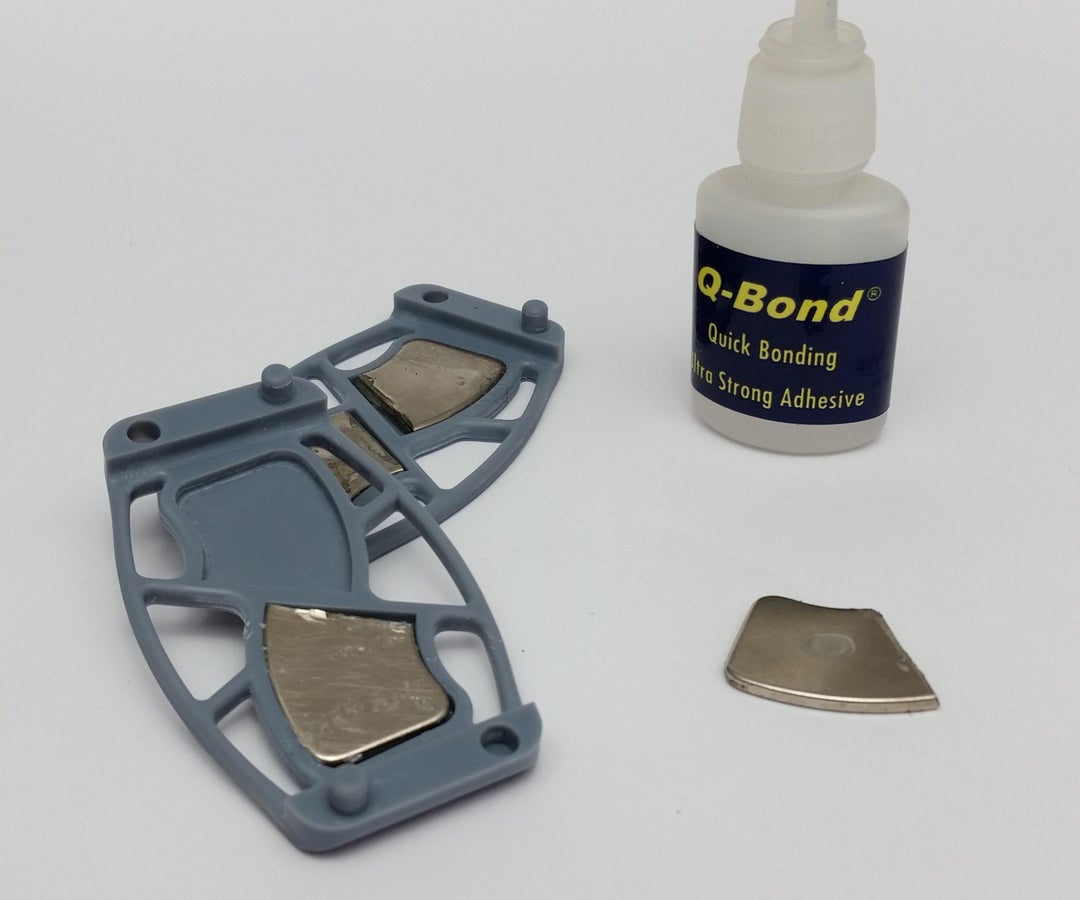
First we need to mark the polarity of our four magnets, I use a small weak magnet mark each of the magnets polarity this is important as the magnets have to be added into the cases in the correct polarity or your driver won't function correctly.
I used a thick CA glue to adhere the magnets into their corresponding slots.
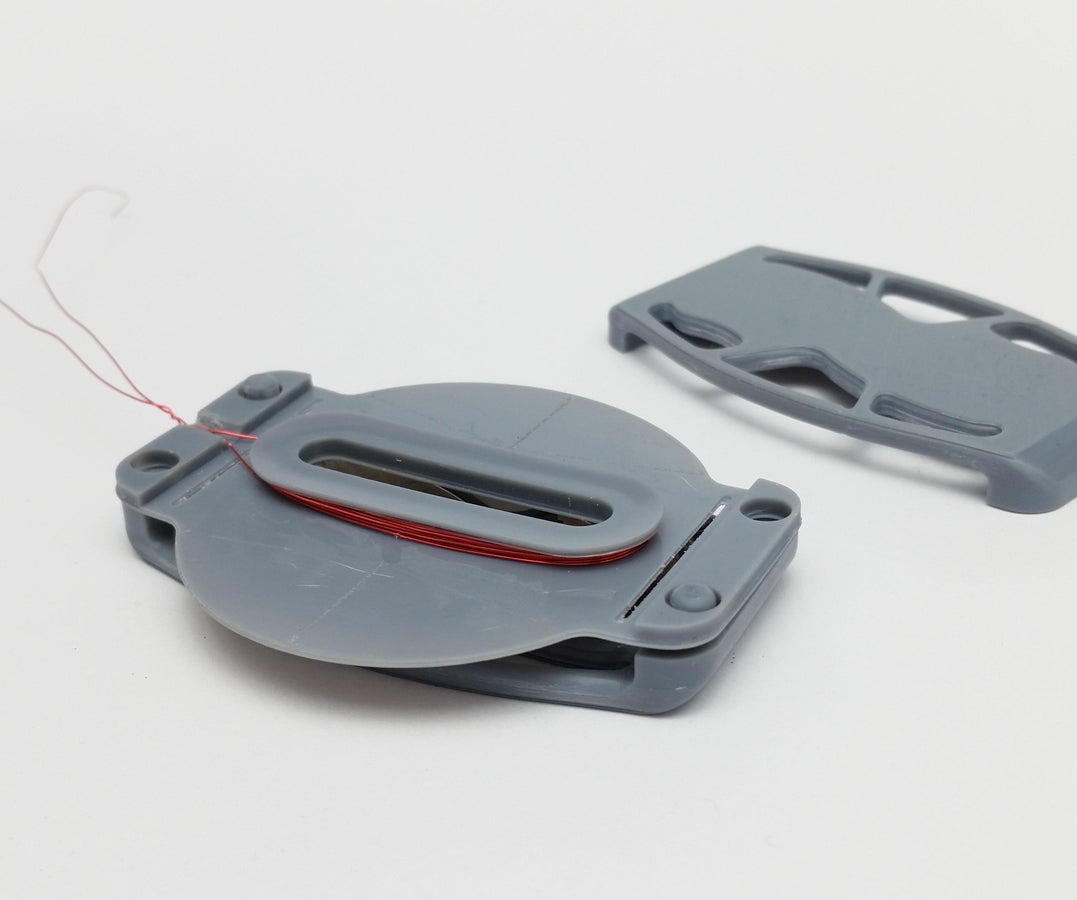
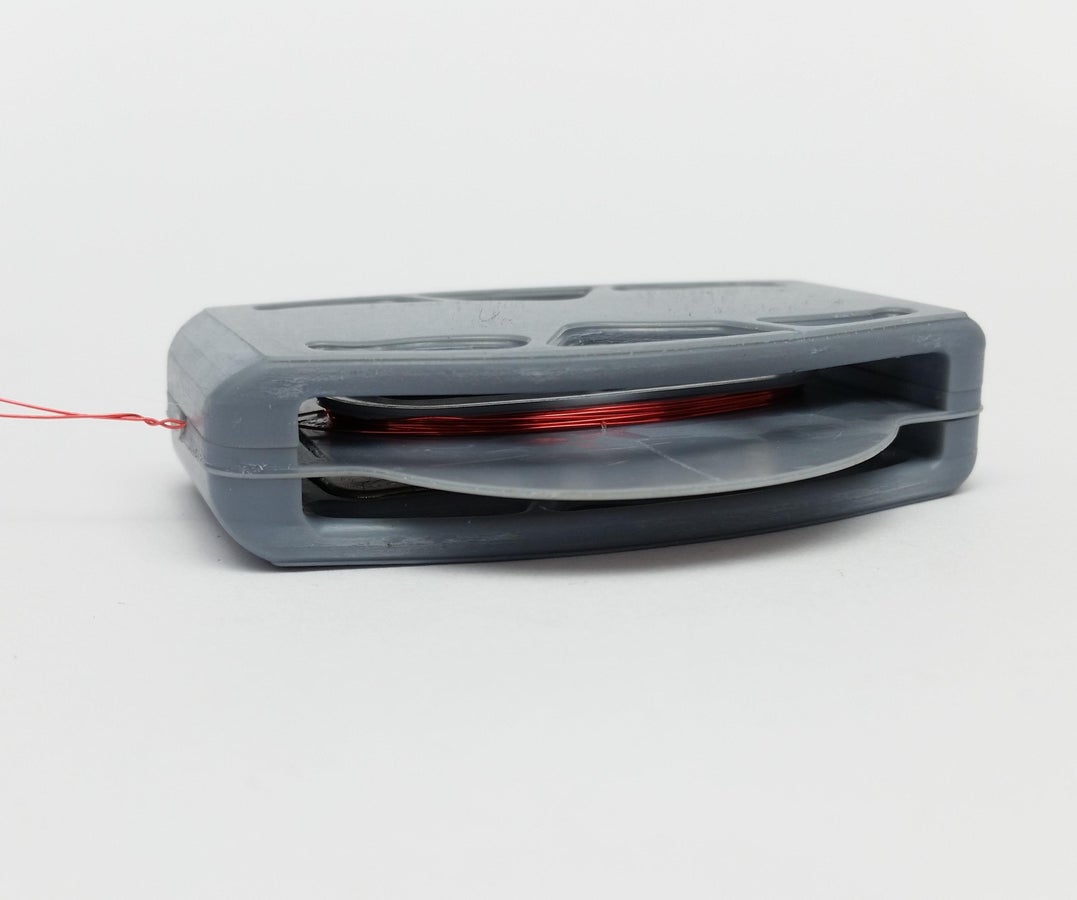
After inserting the magnets the rest of the components simply stack on top of each other, start with one of the magnet housings then the coil goes on top of it and finished with the second magnet housing.
In between the components I used B-6000 glue for it's vibration absorbency.
Step 7: Test It Out:
The uploaded sound file is just a rough recording from my first play, as expected the resin dampens the movement of the coil too much but at least the concept works.
Next I will be revising the diaphragm and suspension.
Updates:
- I broke off the tabs that hold the diaphragm to the magnet shell and replaced it with a cloth tape, this freed up the sound a LOT and gave deep bass but the treble is still slightly muddy due to the resin diaphragms weight.
Attachments
Step 8: Enjoy!
I hope you guys find this Instructable useful and if you have any questions please feel free to leave me a message or comment bellow.
Thank you for taking the time to read through my project and as always..
Happy making!
---

Judges Prize in the
Magnets Contest








Comments
2 months ago on Step 8
nice project! well done.
did you know you measure resistance of youre coil and compare it to youre amp's impedance resistance? those are slightly different values..
nice explanation video here: https://www.youtube.com/watch?v=8D9XPDNY3Mk