
Introduction: Super Nintendo Hard Drive
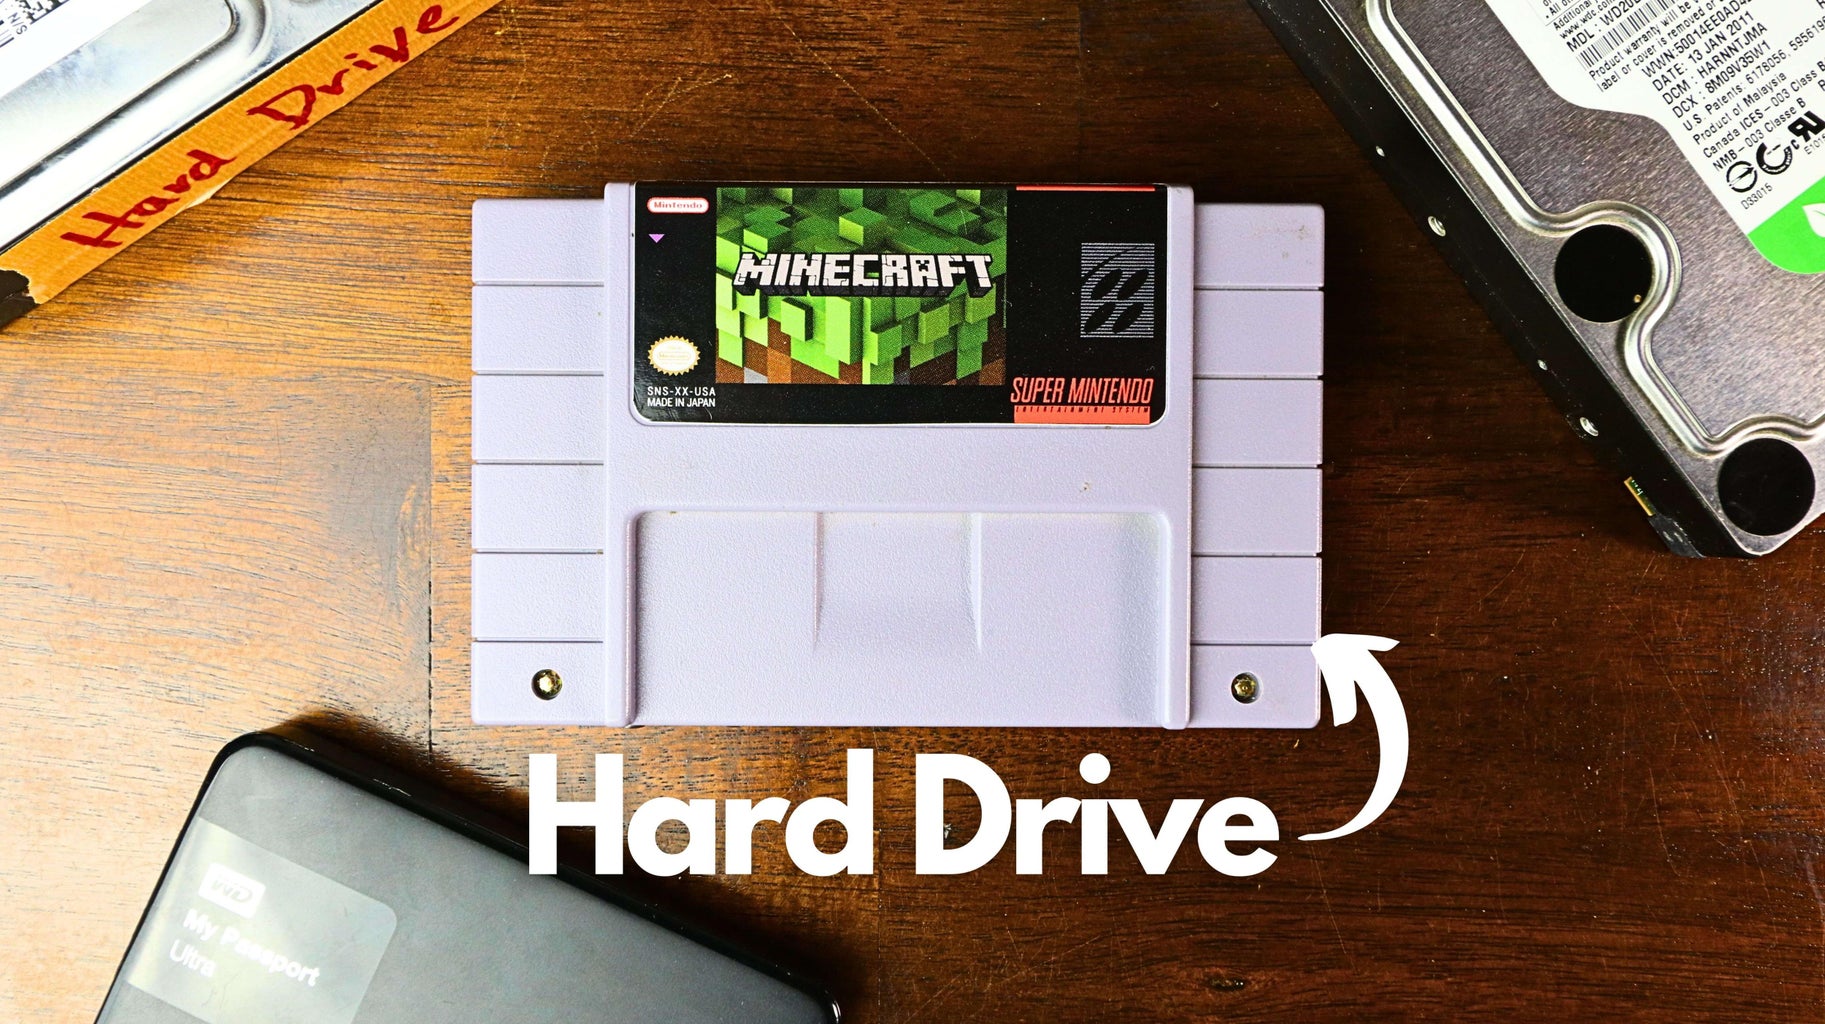


I had an old SNES game that didn't work any more, but I didn't want to throw it away. I stumbled upon a cool use for it - an external hard drive enclosure!
I've seen people put hard disks and larger SSDs into SNES cartridges, but not a M.2 (2280) SSD which I also had laying around, so I thought I'd give it a try and share my process.
One thing I tried hard to achieve was to make the cartridge appear stock, unless you look at the bottom of it. I didn't want to have any cutouts or openings on the sides, which would make it look like less of a clean build.
If you have any interest in seeing some of my other projects - check out my channel: Franklinstein
Supplies


Here's a list of the tools and supplies you'll need for this project:
Supplies:
- Double sided tape - https://amzn.to/3QqcP7B
- SNES cartridge - https://amzn.to/3OhlS8m
- M.2 SSD - https://amzn.to/44Vz9dJ
- USB-C right angle to bulkhead cable - https://amzn.to/3rJVwnF
- M.2 external enclosure - https://amzn.to/3KqZOqH
- #4-40 flat head screws - https://amzn.to/47o0uGW
- Foam tape - https://amzn.to/3KnIBhS
Tools:
- SNES screw adapter bits - https://amzn.to/3QjwgPl
- Screwdriver - https://amzn.to/3Oo8Eqq
- Hobby razor - https://amzn.to/3BCeSOn
- Dremel - https://amzn.to/3Oo8H5A
- Cutting blades - https://amzn.to/3zR6OrN
- Double sided tape - https://amzn.to/3OK1i1D
- 3d printer - https://amzn.to/3QbMc2Y
- Filament - https://amzn.to/3d3kRBN
- Scraper blade - https://amzn.to/44455v3
- Rubbing alcohol - https://amzn.to/44U9rWY
Step 1: Open Cartridge and Remove PCB

- Open the cartridge with these special adapter bits for SNES screws: https://amzn.to/3QjwgPl
- Remove the PCB
Step 2: Cut Internals on Cartridge


There are a few areas of the internal cartridge structure that will need to be removed to allow the SSD and adapter to fit inside. See image below for reference.
Step 3: 3D Print SSD Adapter and Other Parts

- Print the SSD adapter
- Print the adapter clamping straps (2x)
- Print the bulkhead adapter
- Tap the SSD adapter holes to #4-40
- Countersink the holes on the adapter clamping straps (not required, but looks cleaner)
- If you don't have a printer - you can print the files here


Step 4: Assembly

Let's put everything together!
- Add foam tape to one side of straps
- Apply double sided tape to underside of SSD adapter
- Insert SSD adapter into rear cartridge - press firmly to allow tape to adhere
- Insert SSD into adapter
- Install USB-C cable into SSD
- Bolt clamping straps on to hold it in place
- Bolt bulkhead adapter to bulkhead fitting of USB-C cable
- Apply double sided tape to bulkhead adapter
- Install bulkhead fitting as shown
- Reassemble upper half and screw everything back together - you're done!
Step 5: Design a Custom Game Sticker


One of my favorite parts of this project was designing a super custom label for my cartridge. You should do the same!
- Here is the template I started out with
- I used Canva to edit everything
- I printed my stickers with Avery labels
Step 6: Project Complete!

Now you can show off your super unique hard drive, with a custom game sticker.
Enjoy!

Runner Up in the
Unusual Uses Contest


10 Comments
21 days ago on Step 6
This is definitely over my head, but your Instructable is well-written, and indeed, a great, and unusual use. Kudos and applause, this is pretty cool.
5 weeks ago
What about data Transfer speed?
Reply 5 weeks ago
Crucial P2 SSD | Crucial.com
5 weeks ago
This is awesome and very easy to follow. I would love to teach this to my students. May I ask, what 3D printer you use?
Reply 5 weeks ago
I appreciate it! I'm using an Ender 3 Pro v2: https://amzn.to/3QbMc2Y
Reply 5 weeks ago
Do a test with the adapter and drive before assembly. Some of these drives get hot
5 weeks ago
My only recommendation is test the drive and adapter before assembly. Run a read write stress test. Some m.2 drives get Hot and may require a heat spreader. Or the drive could potentially be replaced by an ssd instead.
Tip 5 weeks ago
you may want to add some thermal pads to the SSD so it has a little bit better speeds. you can also add some copper adhesive tape to the top side of the game case and it will help transfer heat to the outside of the case.
5 weeks ago
I think the game as a whole would be better served being repaired...
5 weeks ago
Great idea and all that. But I stopped watching at the point when you said throw the PCB in the garbage. 😕
I hope you meant “the box in the garage that’s being taken to the recycling centre”. Up-cycling shouldn't also be wasteful. ♻️